

Oondhe is one of the many variants of Goan bread. It is also called Oondo, Unndho and Pokshe (Thanks Hyacintha Bella – member of Big Fat Tummy Friends FB Group – for the inputs). But whatever you call it or however you spell it, it still is a popular bread in Goa. Hot buttered bread, dunked and eaten in tea or coffee is one way that it can be enjoyed. It is also used to eat many of the delicious Goan coconut curries – although not restricted to the coconut curries only. It’s an easy bread to make and you can make it easily in your home oven. (for more bread recipes, click here)
Yield: 8 Oondhe
Prep. Time: 30 Mins. + Standing / Proofing Time
Baking Time: 15 to 20 Mins
Ingredients:
- Maida [APF] – 500 gms + for dusting and shaping
- Instant Yeast – 1 tsp. (3 gms)
- Sugar – 2 tsp. (6 gms)
- Water – 100 ml + 225 ml = 325 ml (check notes)
- Oil – 2 tsp. (for greasing and oiling your palms)
- Salt – 1 tsp.
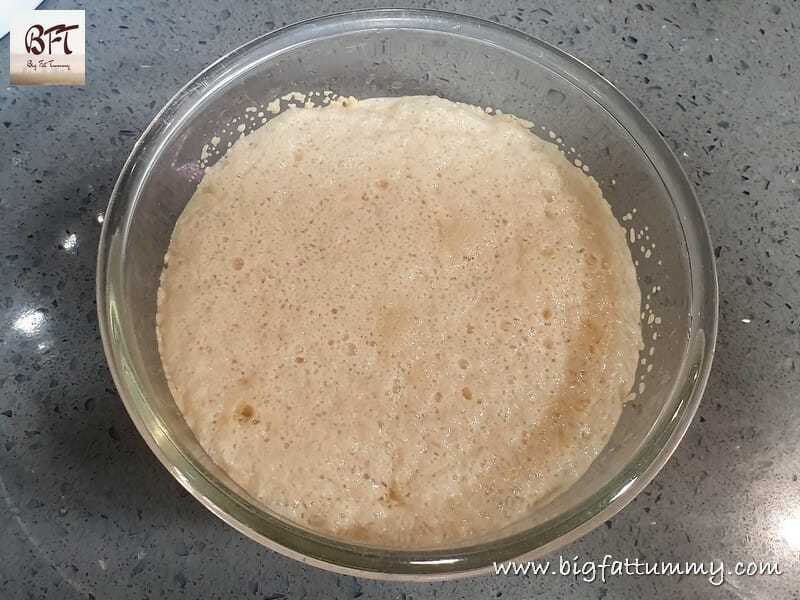
Step 1: Activating the Yeast
Stir the sugar in 100 ml luke-warm water and sprinkle the yeast in it. Mix and leave aside for 10 to 12 minutes. If your yeast is active, the mixture will turn frothy.
Step 2: Preparing the Dough
A). Next take the maida, salt and the yeast mixture in a stand mixture bowl, attach the dough hook and switch on at the lowest speed. Add the remaining water (225 ml) little by little till it is all used. Knead the dough in the stand mixture for 15 to 20 minutes on speed 2. When the dough is ready it will be slightly sticky and soft (check notes below).


Step 3: 1st Proofing of the Dough
Oil your palms and take the dough out of the mixer bowl. The dough will be sticky and stretchy. Form a ball and transfer to a large lightly greased bowl / vessel (see tip 2 below) and cover with a towel or cling film. Leave aside to rise for 1 ½ to 2 hours at room temperature (30° C)
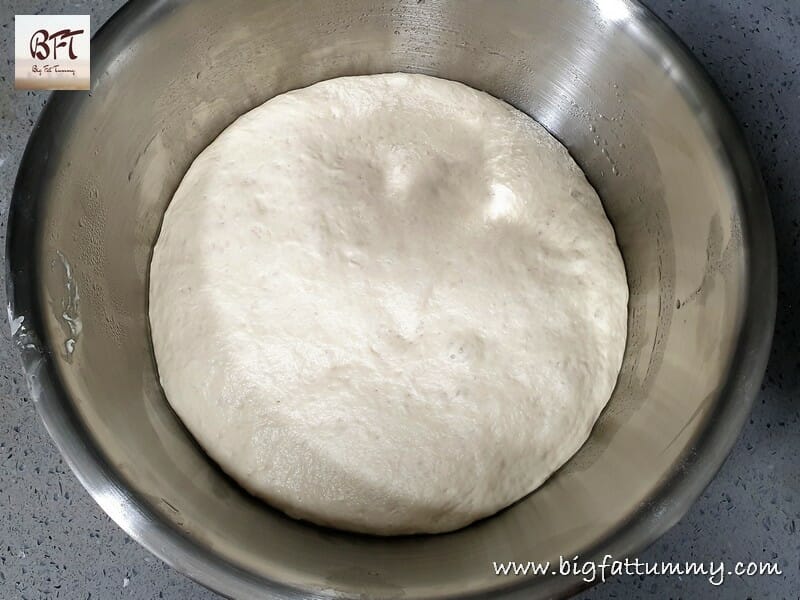
Step 4: Punching the Dough
After 1 ½ to 2 hours the dough will have risen and doubled in size. Punch the dough to knock out the air (see tip 3 below).
Step 5: Shaping the Dough
A). Line your baking tray with parchment paper and keep ready.
B). Dust the kitchen platform / bench lightly with some flour. Keep some dry flour at one corner of the platform. Transfer the dough onto the dusted kitchen platform / bench.
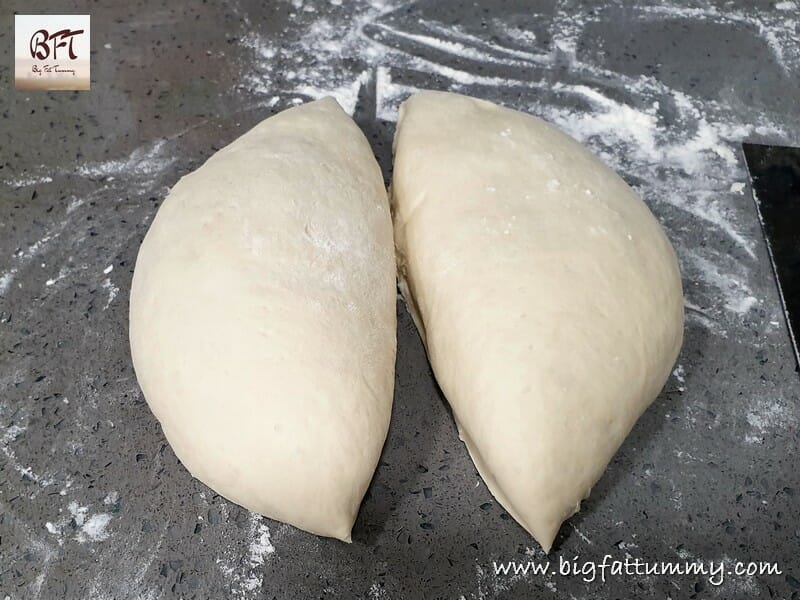
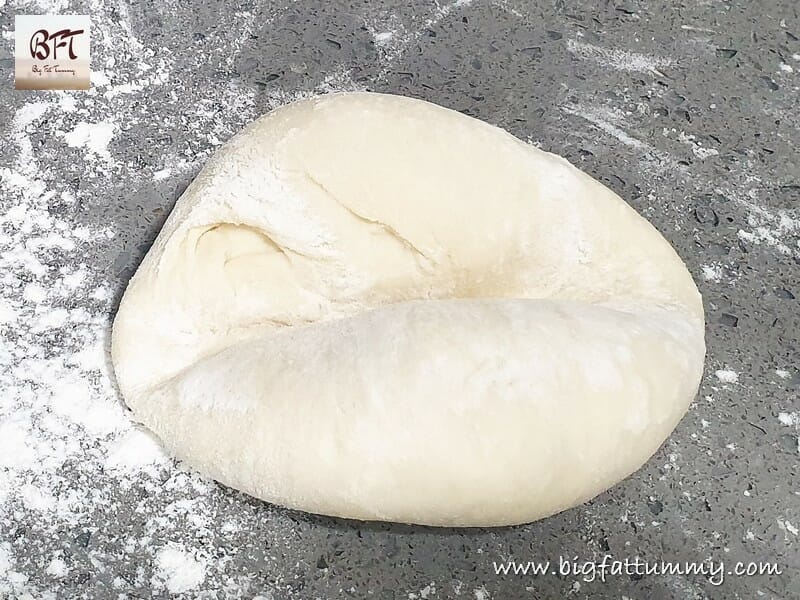
C). Dust the punched dough with some flour and shape it into a circular mass as shown in the picture.
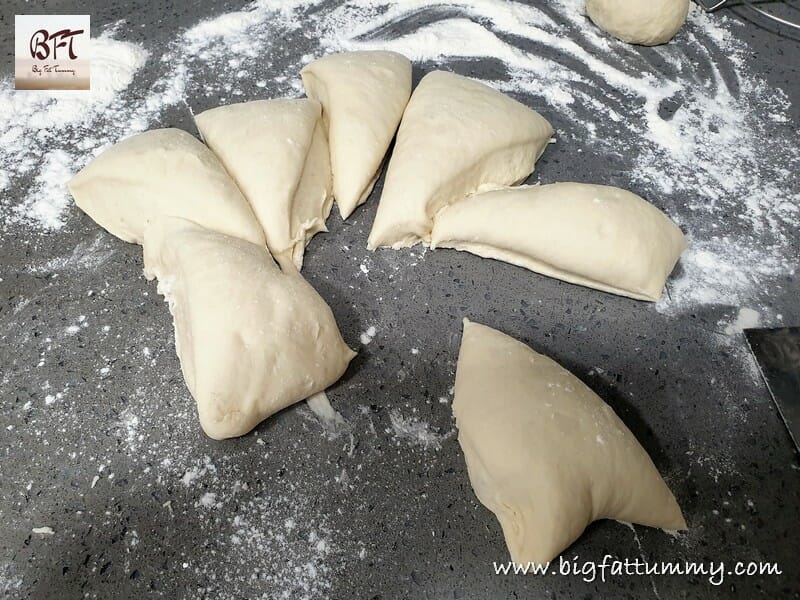
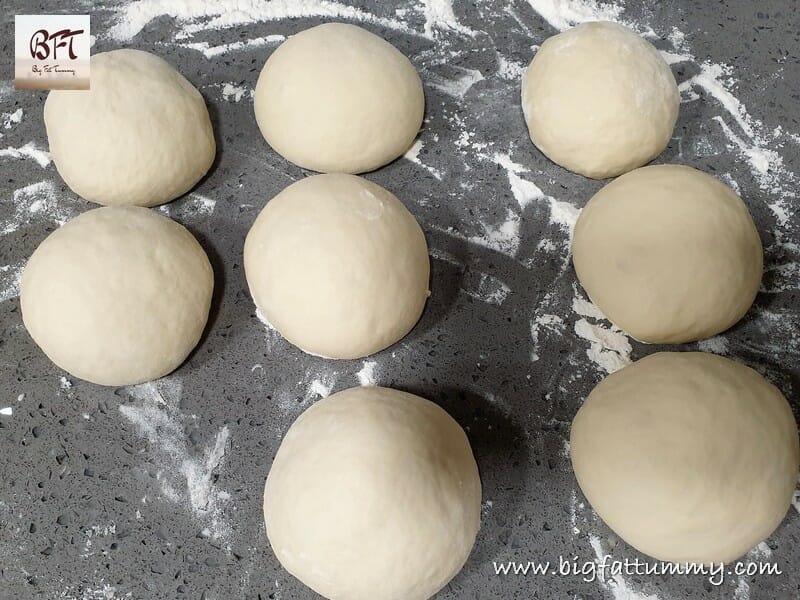
D). Divide the dough into two portions using a dough cutter / scrapper. Then divide each of the two portions into four portions each (see pics).
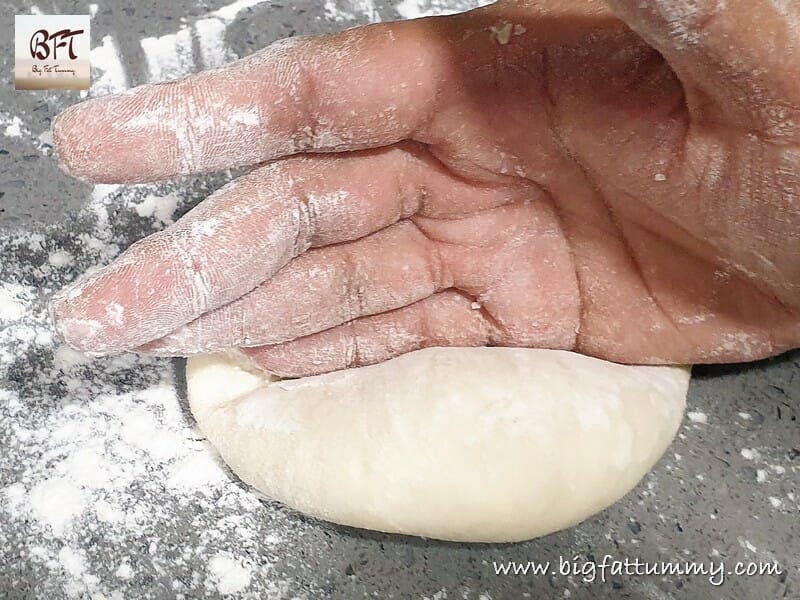
E). Dust you hand with the flour at the corner of the platform / bench and then take a portion of the dough and flatten it on the platform. Tuck in the edges of that portion of dough and then form into a smooth ball either on the platform or on your palm using the thumb and fingers of your other hand.
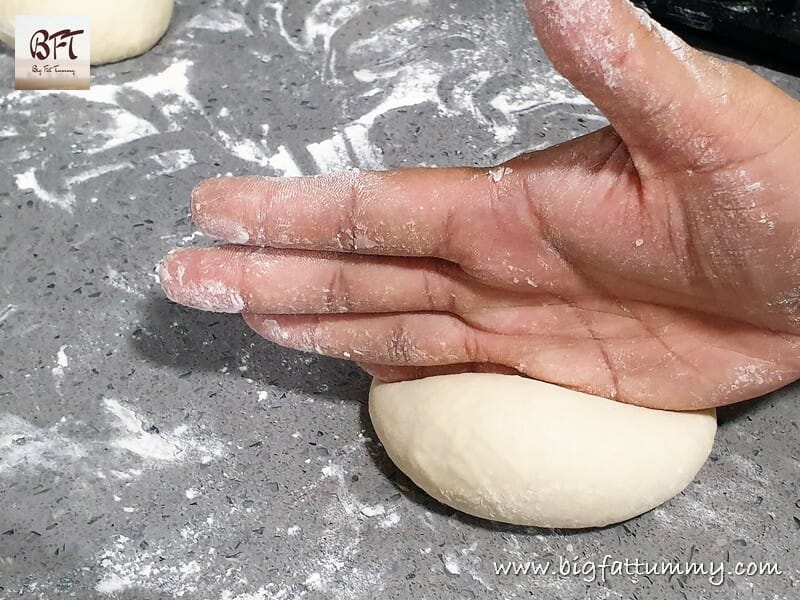
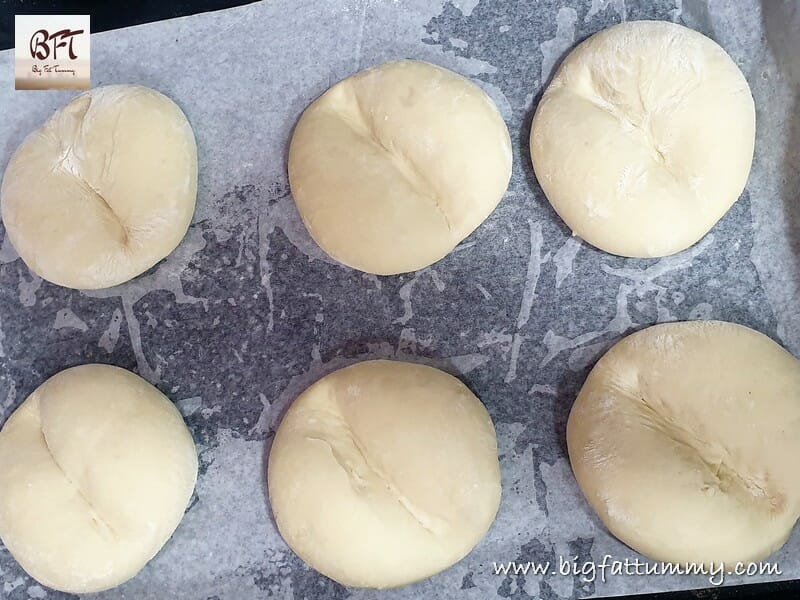
F). Use the palm of your hand and press the ball as shown in the picture (like a karate chop but lightly). Then turn over and repeat. Place this shaped Oondho on your baking tray. Do this for all the portions of dough. (Remember to dust you hand, and the kitchen platform with flour after you form each ball) Place the balls on the tray about 2 inches apart.
Step 6: 2nd Proofing
Cover the tray with a towel and place the tray into your unheated oven or a warm place and leave to rise for another 1 to 1 ½ hours.
Step 7: Baking the Bread
A). Remove the baking tins / tray from the oven and keep outside. Set the oven to pre-heat at 250° C for 10 minutes. After 10 minutes, set the temperature to 220° C.
B). Place the baking tray into the hot oven. Bake at 220° C for 15 to 20 minutes till golden.
C). When baked, transfer immediately to a bread basket lined with cloth. Cover and keep for 30 minutes before serving.

Tips:
- The bowl used for the 1st proofing of the dough should be about 4 times the volume of the dough.
- You can either punch the dough with your fist in a kneading like action or you can just take the dough in your hand and drop it with a little force onto the platform a few times.
- Depending on the quality of the maida you may need a little less or more of water.
Which oven are you using for baking
We use a Gorenje Built-in Oven.
How many cups is 500gms of maida? The bread came out very dry and unbaked. The water 325ml didn’t appear to be enough. The dough was also very dry. What did I do wrong?
The outcome of the bread could be because of various issues. Did you maida or wheat flour ? Was your yeast potent ? We use 325 ml of water in the recipe, but as you can read in the footnotes of the recipe, this qty. can vary depending on the quality of the APF. My dough in fact turns sticky and some of my peers are of the opinion that I use a little extra water. But I like it this way as the dough is very pliable after hydration and fermentation. Also kneading by hand and by machine makes a difference. We knead in a stand mixer. 1 cup of maida is 130 gms approx – but the measures we’ve given are more convenient as you just need to use a 500 gms pack of maida.
Thank you for your very quick response. I just saw your tip to use a little more or less of water depending on the Maida. Ok, I’ll try this again. I used Maida not wheat flour. Instant yeast. It got frothy. I put about 4 cups of maida which is about 500gms. The bag of Maida is about 900g. I don’t a get 500g bag. I’ll see if I can find a 500g pack. I kneaded the dought by hand simply because I didn’t want the trouble of washing a machine afterwards.
I want to get this right. I am from Panjim, Goa and we always had this bread for dinner.
Let you know how it comes out.
Thanks again.
My reply got lost. Anyway, here it is again.
Thanks for your prompt reply. I just saw your tip about water. So I’ll try again. I kneaded by hand. Does that make a difference?
You may not always be successful making bread outright. There are a lot of things to consider including hydration, method of kneading, quality of ingredients, etc. Proper oven temperatures also play an important part. If you knead by hand, you need to have a specific technique to develop gluten and make bread. You can check this link : https://en.wikipedia.org/wiki/Kneading or research this further on the internet.
I for one, find it less time consuming and easier to use a stand mixture on slow setting (usually 2) and I let the dough knead for 15 to 30 minutes depending on quantity or kind of dough required. It also helps that I use a dishwasher and thus am not bothered about the washing part 🙂
Hope this helps. Don’t give up. Cause you’ll learn and evolve. Once you get there, you’ll just know by the feel of the dough.
Thank you, thank you, thank you..For some reason many people who post stuff on Goan bread, overlook the Oondhe.
You are welcome Max and Thank You